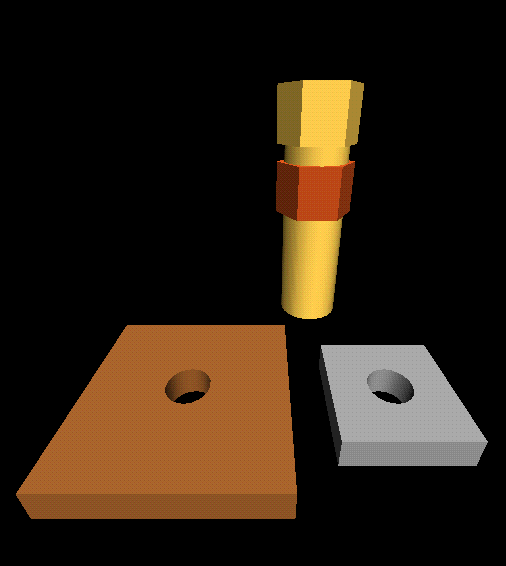
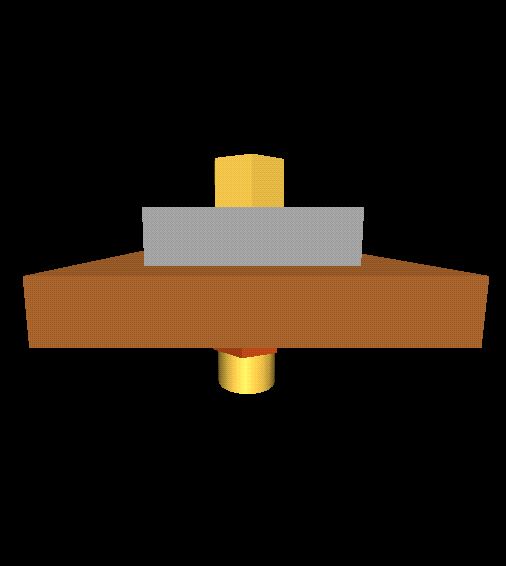
This example demonstrates the constraint recognition modeling of a bolt assembly which consists of four components, namely, Plate1, Plate2, Bolt, and Nut. The assembling procedure begins with Plate1 and Plate2 being aligned in position where the holes are concentric. Next the Bolt is inserted into the hole. Finally, the Nut is screwed onto the bolt to make the whole assembly rigid, i.e., no relative movement among all components. According to this example, the allowable rotation of Plate2 is therefore prohibited. However, if Plate2 is translated, this will result in the translation of the whole assembly. The allowable rotation of Plate2 is permitted only when the constraint is detached, that is, the Nut is being loosen.
Schematics of the initial and final assembly are shown below. Assembling can be demonstrated on screen as well.
( a word of caution: the picture will take a long time to download. Be sure to have enough memory or disk space to accommodate the entire file, as well as appropriate media player software to run.)
Return to Home Page